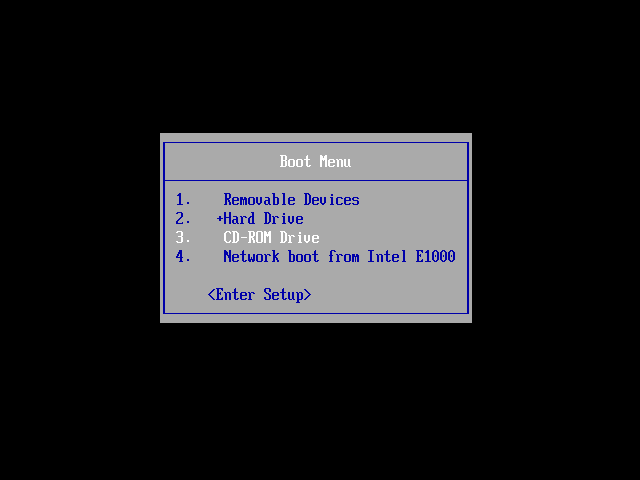
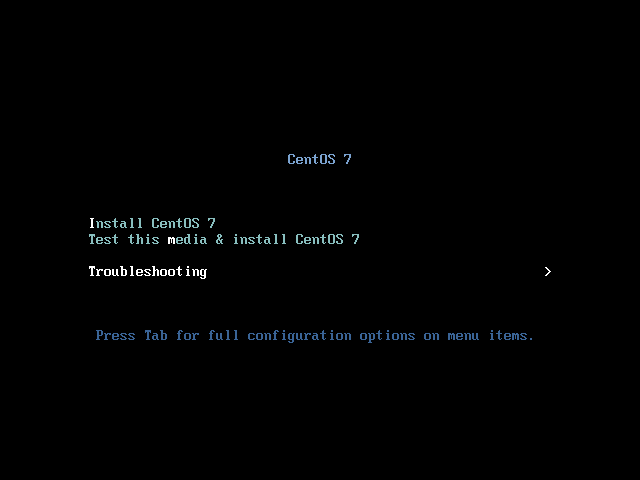
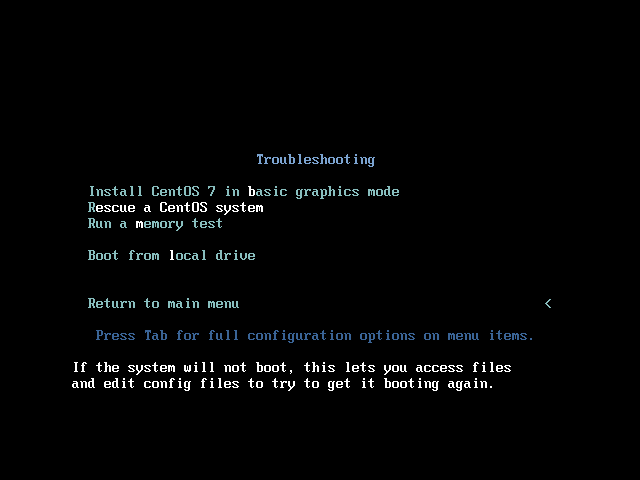
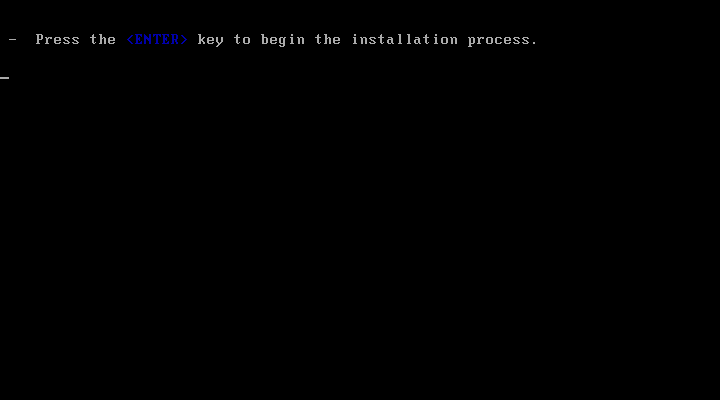
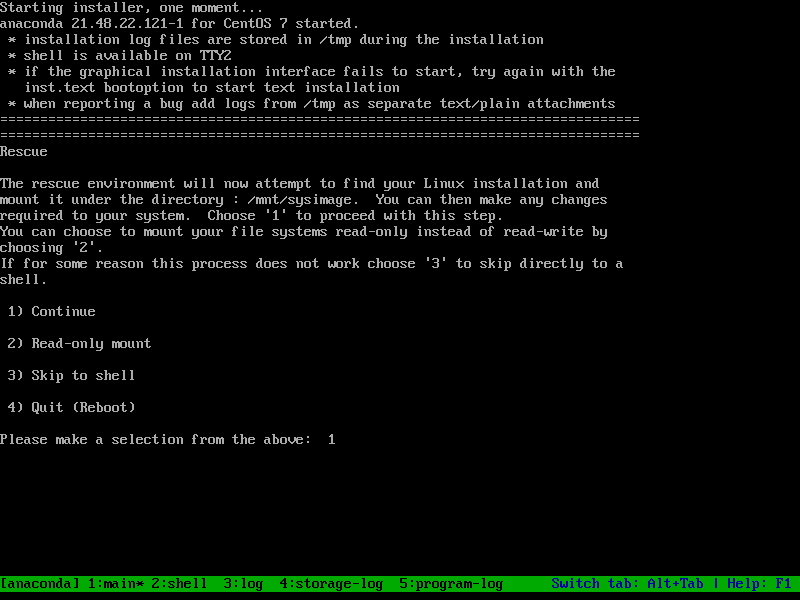
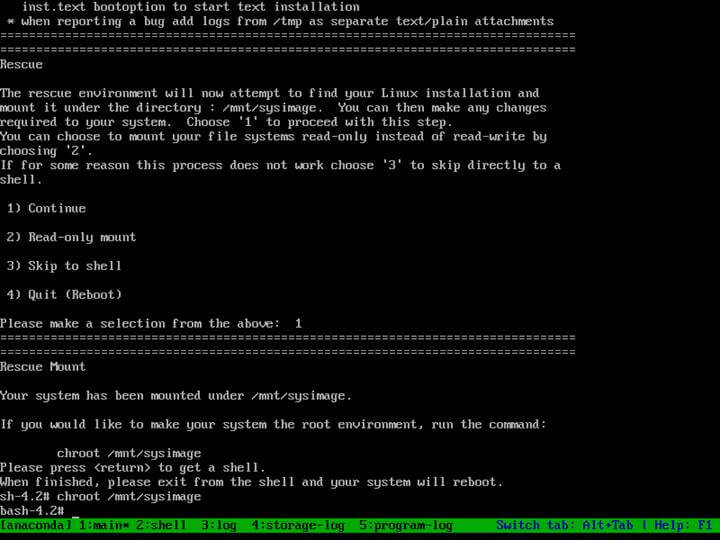
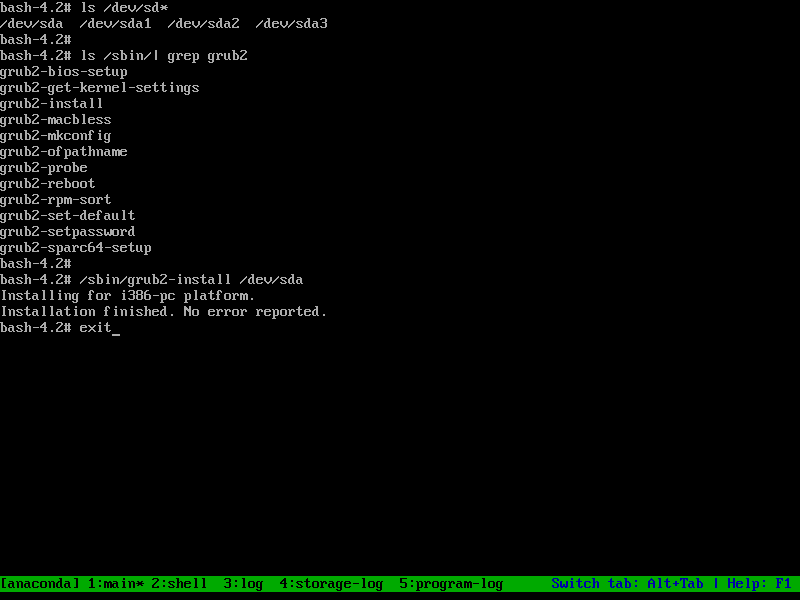
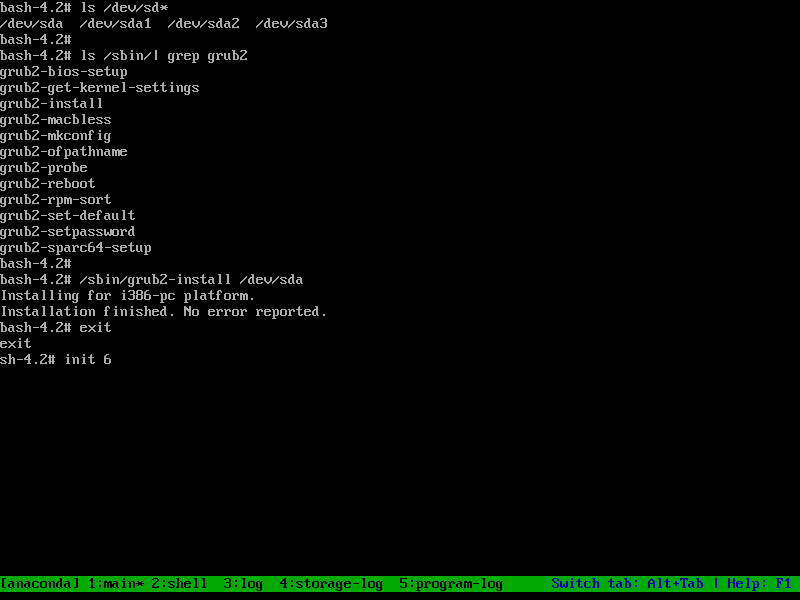
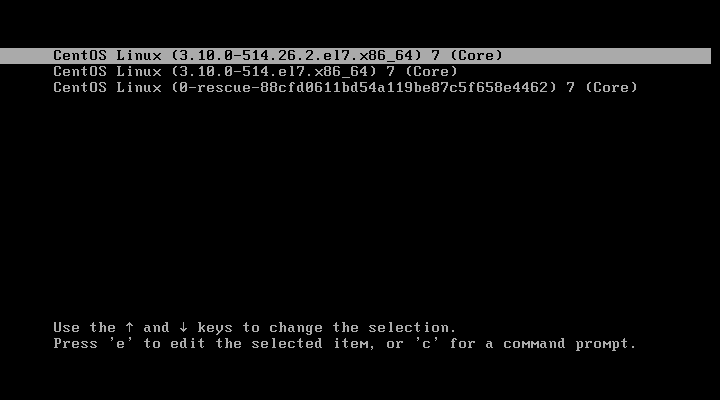
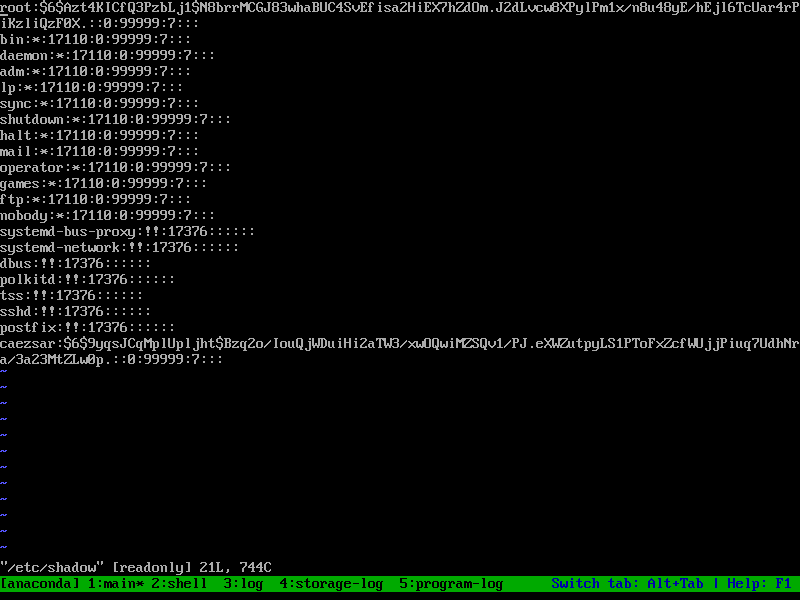
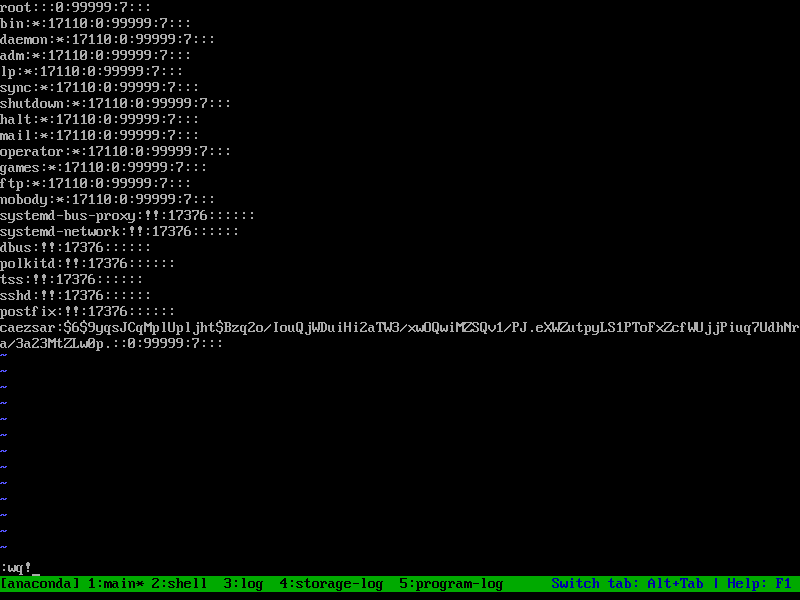
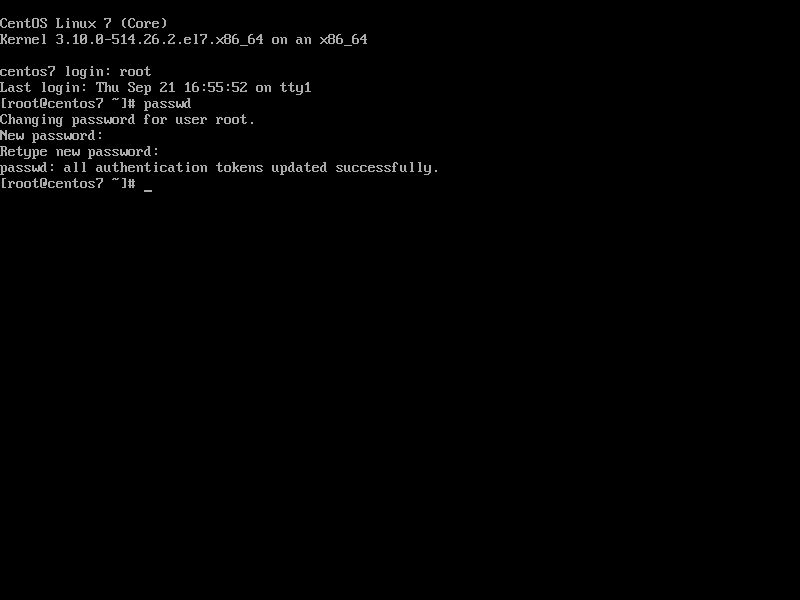
The GRUB boot loader can sometimes be damaged, compromised or deleted in CentOS due to various issues, such as hardware or software related failures or sometimes can be replaced by other operating systems, in case of dual-booting. A corrupted Grub boot loader makes a CentOS/RHEL system unable to boot and transfer the control further to Linux kernel. The Grub boot loader stage one is installed on the first 448 bytes at the beginning of every hard disk, in an area typically known as the Master Boot Record (MBR). Read Also: How to Rescue, Repair and Recover Grub Boot Loader in Ubuntu The MBR maximum size is 512 byes long. If from some reason the first 448 bytes are overwritten, the CentOS or Red Hat Enterprise Linux cannot be loaded unless you boot the machine with a CentOS ISO image in rescue mode or using other boot loading methods and reinstall the MBR GRUB boot loader. RequirementsRecover GRUB Boot Loader in CentOS 71. On the first step, download the latest version of CentOS 7 ISO image and burn it to a DVD or create a bootable USB stick. Place the bootable image into your machine appropriate drive and reboot the machine. While the BIOS performs the POSTs tests, press a special key (Esc, F2, F11, F12, Del depending on the motherboard instructions) in order to enter BIOS settings and modify the boot sequence so that the bootable DVD/USB image is booted first at machine start-up, as illustrated in the below image. 2. After the CentOS 7 bootable media has been detected, the first screen will appear in your machine monitor output. From the first menu choose the Troubleshooting option and press [enter] key to continue. 3. On the next screen choose Rescue a CentOS system option and press [enter] key to move further. A new screen will appear with the message ‘Press the Enter key to begin the installation process’. Here, just press [enter] key again to load the CentOS system to memory. 4. After the installer software loads into your machine RAM, the rescue environment prompt will appear on your screen. On this prompt type 5. On the next prompt the rescue program will inform you that your system has been mounted under 6. Next, identify your machine hard drive by issuing the below command in the rescue prompt. In case your machine uses an underlying old physical RAID controller, the disks will have other names, such as However, after you’ve identified your machine hard disk, you can start installing the GRUB boot loader by issuing the below commands. 7. After the GRUB2 boot loader is successfully installed in your hard disk MBR area, type exit to return to the CentOS boot ISO image tree and reboot the machine by typing init 6 in the console, as illustrated in the below screenshot. 8. After machine restart, you should, first, enter BIOS settings and change the boot order menu (place the hard disk with the installed MBR boot loader on the first position in boot menu order). Save BIOS settings and, again, reboot the machine to apply the new boot order. After reboot the machine should start directly into the GRUB menu, as shown in the below image. Congratulations! You’ve successfully repaired your CentOS 7 system damaged GRUB boot loader. Be aware that sometimes, after restoring the GRUB boot loader, the machine will restart once or twice in order to apply the new grub configuration. Recover Root Password in CentOS 79. If you’ve forgotten the root password and you cannot log in to CentOS 7 system, you can basically reset (blank) the password by booting the CentOS 7 ISO DVD image in recovery mode and follow the same steps as shown above, until you reach step 6. While you’re chrooted into your CentOS installation file system, issue the following command in order to edit Linux accounts password file. In shadow file, identify the root password line (usually is the first line), enter vi edit mode by pressing the After you finish, save the file by pressing the following keys in this order 10. Finally, exit the chrooted console and type init 6 to reboot the machine. After reboot, login to your CentOS system with the root account, which has no password configured now, and setup a new password for root user by executing the passwd command, as illustrated in the below screenshot. That’s all! Booting a physical machine or a VM with a CentOS 7 DVD ISO image in recovery mode can help system administrators to perform various troubleshooting tasks for a broken system, such as recovering data or the ones described in the tutorial. |
Home > Server config >

